
Friends, as promised, we’ve worked on offline map support in the latest update.
The current version of the app supports the following map formats:
Maps of the ozf family;
A map in the form of a single large image (.png or .jpg) with a georeferencing file (.kml, .map, or .dat);
A map in the form of a “cache”;
A map in MBTiles format (in my opinion, the most convenient format).
Most app users, and generally anglers, hunters, and tourists using GPS navigation, are likely familiar with these map formats, where to find them, and how to create them.
In subsequent updates, we’ll expand the number of supported formats, particularly aiming to add vector map support. You can also suggest formats in the comments, and we’ll take note of the most popular ones.
Let’s get back to working with maps in the current version.
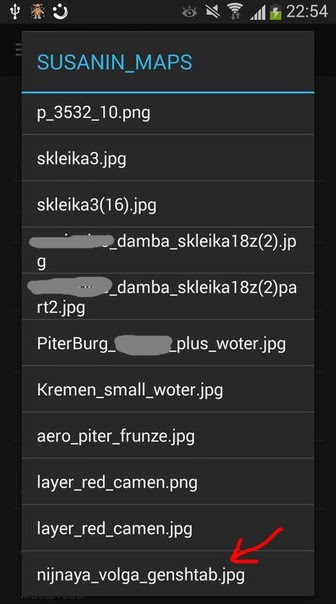
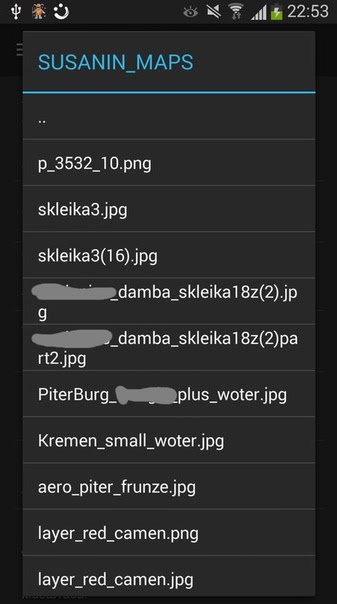
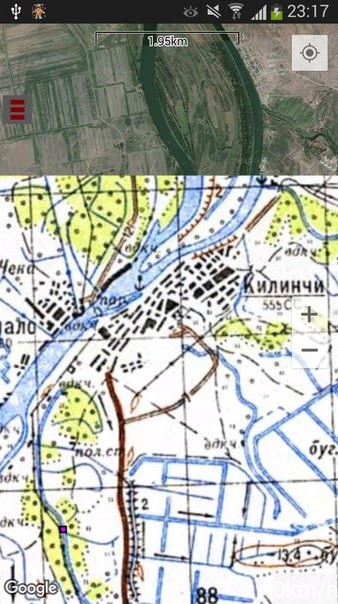
To use your map, you first need to load it onto your phone (tablet). Maps can be uploaded either to the device’s memory or an external memory card. If it’s a map with a georeferencing file, it’s important that both files have the same name and are in the same folder.
After loading the map, open Navigator Fisherman. In the app, you can open a map in two ways: set it as the main map or add it to the main map as a layer.
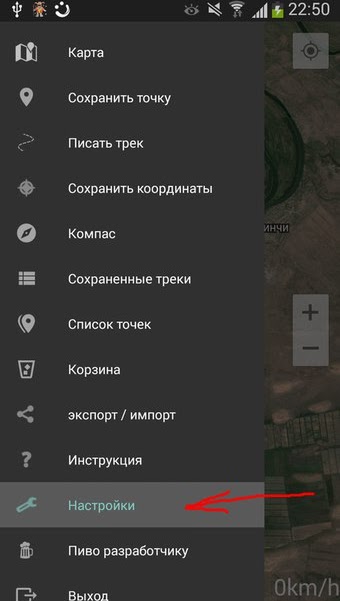
In the first case, you need to open the app’s main menu and select the “settings” option.
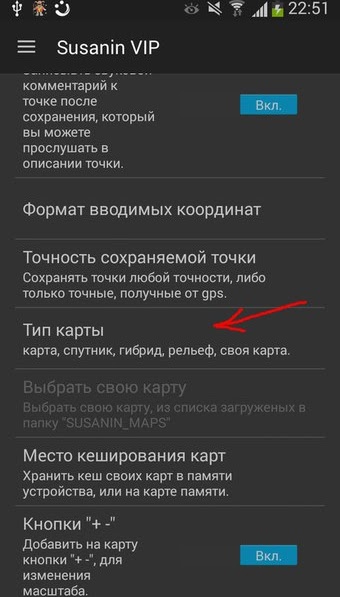
In the settings, select “map type” and specify it as “custom.”
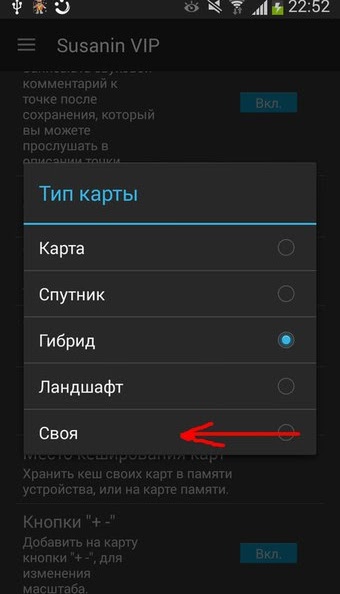
A dialog box explorer will appear, offering you to find your map on the device and select it.
Returning from the settings to the map, you’ll see that your chosen map is set as the main map.
Note, the screen doesn’t automatically move to the location where your map will be located; you need to manually move the screen to the area of the uploaded map in advance.
The second method
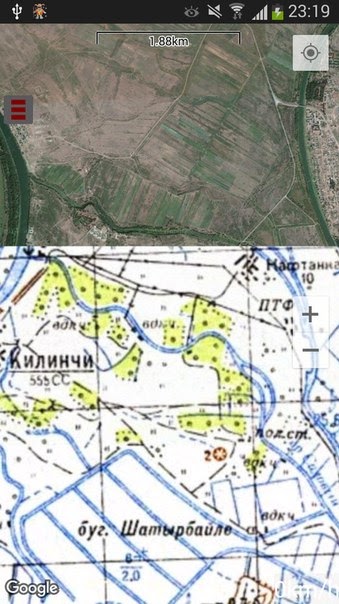
Using the map – add it to the main one as a layer. To do this, open the map menu and select the “add layer” option.
You’ll see the familiar explorer for selecting your map.

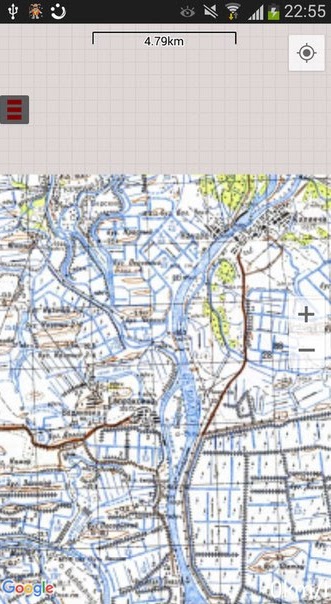
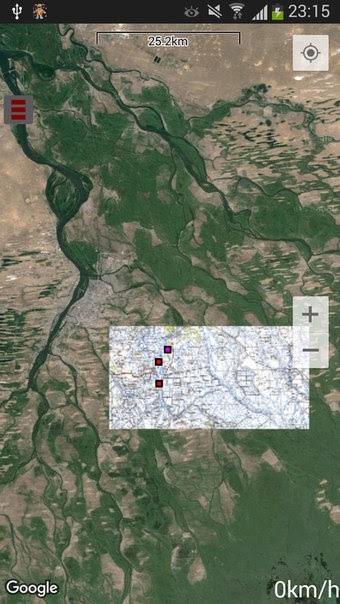
The added map is displayed on top of the main one.
Similarly, you can overlay an unlimited number of map layers on both Google maps and your own.
Creating your own maps
Now a few words for those who don’t know where to get maps and how to make them.
There are many PC programs available for creating such maps.
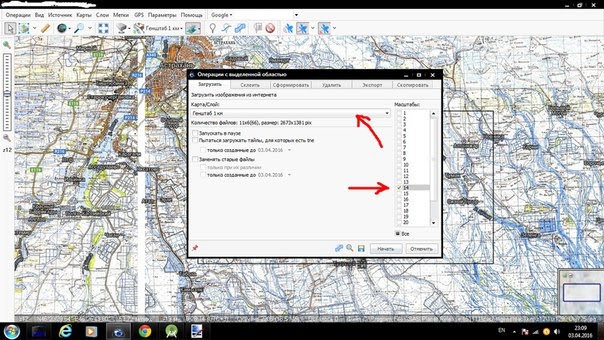
Let’s look at an example of one of them. So, open the program and choose the map you need from the provided list.
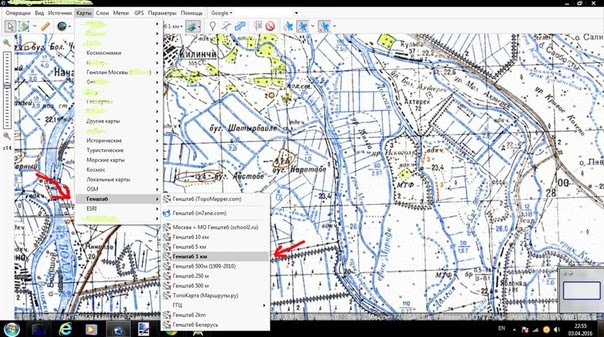
For example, select General Staff maps and mark the rectangular area you plan to upload to your phone.
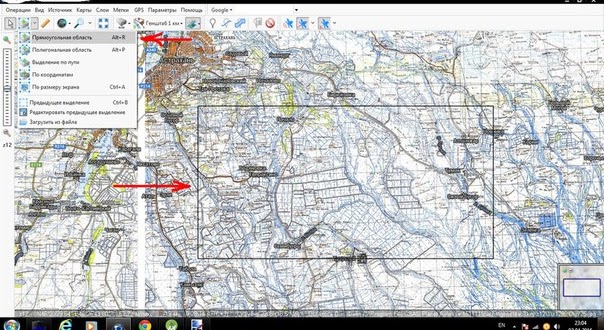
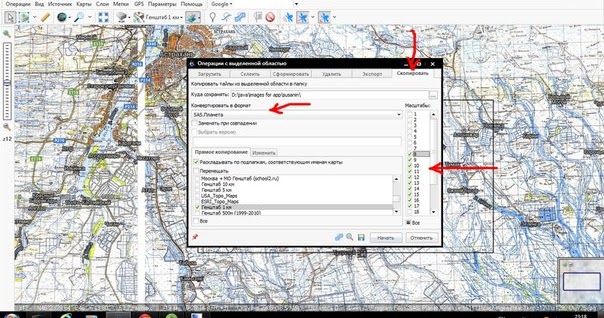
After this, a window appears offering various operations you can perform with this area. First, select the “Download” tab, where you also choose the scale(s) you want to download, and again select the map type – “General Staff.”
Click the “start” button.
The next steps will depend on the format you want to get as output.
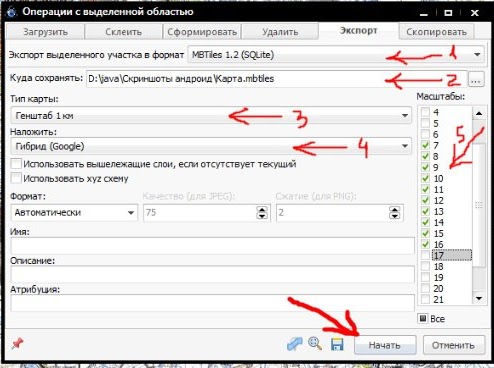
MBTiles
The most convenient format! It has all the advantages of cache – fast performance, multi-scale support, and it’s much easier to work with. The map is saved as a single file. No georeferencing files are needed.
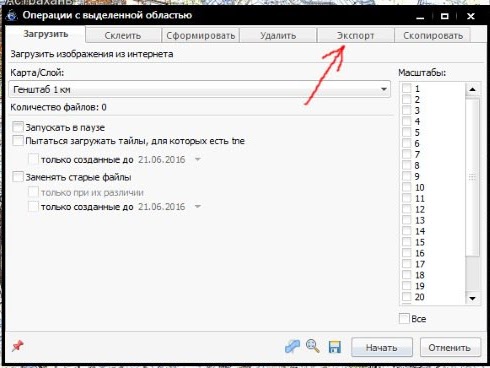
After the map is loaded, switch to the “Export” tab in the same window.
In this tab, select:
- Format for export – MBTiles;
- Path to save the map;
- Map type – the one you loaded in the previous steps;
- You can overlay a layer on this map;
- Select the scales you need. Remember, adding each subsequent scale triples the map size.
Then click “start” and wait for the map to appear in the specified folder.
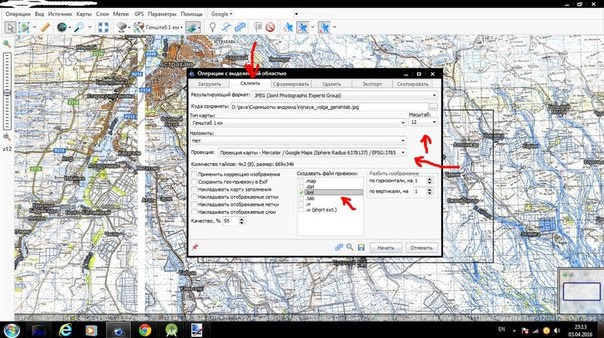
JPG/PNG with a georeferencing file
After the map is loaded, “merge” the map. Switch to the “Merge” tab and select where to save the map, check the map type and scale, specify the georeferencing file type and projection (be sure to choose the Google Maps projection!). Save the resulting map.
The map is ready. All that’s left is to transfer the map with the georeferencing file to the device. What to do next is described at the beginning of the article.
OZF maps
Similar to jpg/png maps. Only for the georeferencing file, you must always select map. There are also other programs for creating ozf maps, including OziExplorer itself, where you can manually georeference any map to real-world coordinates.
Cached maps
The second map type – cache – has both advantages and disadvantages.
Advantages:
- The app finds it easiest to work with. This means the program runs faster, loads the map faster, lags less, and consumes less battery. If there are certain size limitations for a single map, exceeding which causes long loading times and app lag, cache maps have no such restrictions. The size is limited only by the available space on the memory card or device storage.
- Different layers for different scales. This means that with significant zoom in/out, the numbers, letters, and labels don’t stretch across the entire screen or shrink into a dot but remain a readable size.
Disadvantages:
- Slightly more complex to work with. Essentially, it’s a folder with a system of nested folders containing pieces of the image. It’s easy to get confused and copy incomplete or extra folders and files.
- Cache transfers from a computer to a phone or memory card much more slowly. A 200-300MB map may take several hours to copy!
- Cache is quite a specific format. Maps in this format are less common, and they can only be created with a limited set of tools.
To create a cache map in the program under review, follow these steps:
- Select the map area and download the required scales (just as for a .jpg map).
- Instead of “merge,” select “copy.”
- Specify the folder to save the cache and start the process.
- Locate your cache in the specified folder and transfer it to the device. Transfer time depends on the size of the area and selected scales. Loading cache maps is described above.
That’s all for now. The article will be updated as new map formats are added. We look forward to your comments on the new feature and would be happy to take your feedback and suggestions into account.
Пользуюсь форматом mbtiles и всячески рекламирую ваше приложение. Одно плохо – очень уж тяжеловесными получаются карты. Карты делаю сам. Было бы очень здорово если бы добавили поддержку какого-нибудь векторного формата. AT5 например, ну или открытого какого-то
ДВС! Подскажите пожалуйста, у меня карты водоёма в формате ат5. Возможно ли этот установить в Susanin?
Спасибо разработчику за такое прекрасное приложение. С ним пои поездки на природу стали ещё комфортнее.
Надеюсь что решится вопрос по скачиванию карт в платном режиме, мне не очень комфортно скачивать по одному фрагменту в сутки.
Добрый день, пользуюсь вашим навигатором и не могу нарадоваться все просто и понятно справится даже новичок, иконки просто огонь в других навигаторах такого нет вы молодец, жду года вы добавити расширение map. Чтоб можно было векторные карты использовать. И да сделайте что нибудь для более удобной навигации когда возвращаешься на точку с леса чтоб более корректно показывал направления движения , ато стрелка показывает направление только во время движения и бывает уже пройдешь метров 30 и понимаешь что не в ту сторону, и если возможно сделать вращение карты по направлению движения это было бы просто шикарно, спасибо огромное за такой навигатор всем советую его.